We like this peasant bread so much—and it's so easy to make—I finally had to demand my daughter bake it only on Sundays. We can easily down two loaves!
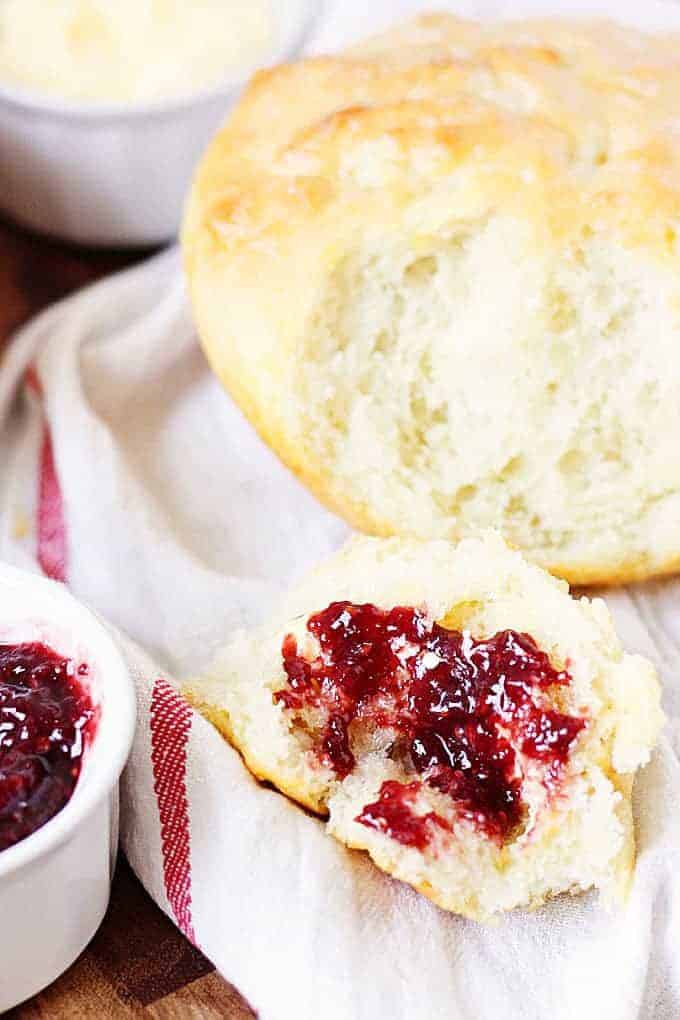
I'm not gonna lie. I kinda like having a 16-year-old daughter who loves to bake. She's made everything from fantastic peanut butter bar to red velvet donuts.
Her latest and greatest concoction is this amazing peasant bread. We like it so much—and it's so easy to make—I finally had to demand she bake it only on Sundays.
I'm not kidding. We can go through two loaves in one dinner.
Peasant bread is an easy, basic yeast bread that comes together quickly. The secret is using oven-safe bowls for baking and baking two loaves since it disappears quickly!
Speaking of dinner, this peasant bread pairs perfectly with turkey chili. If you look closely, you'll see it pictured in the background.
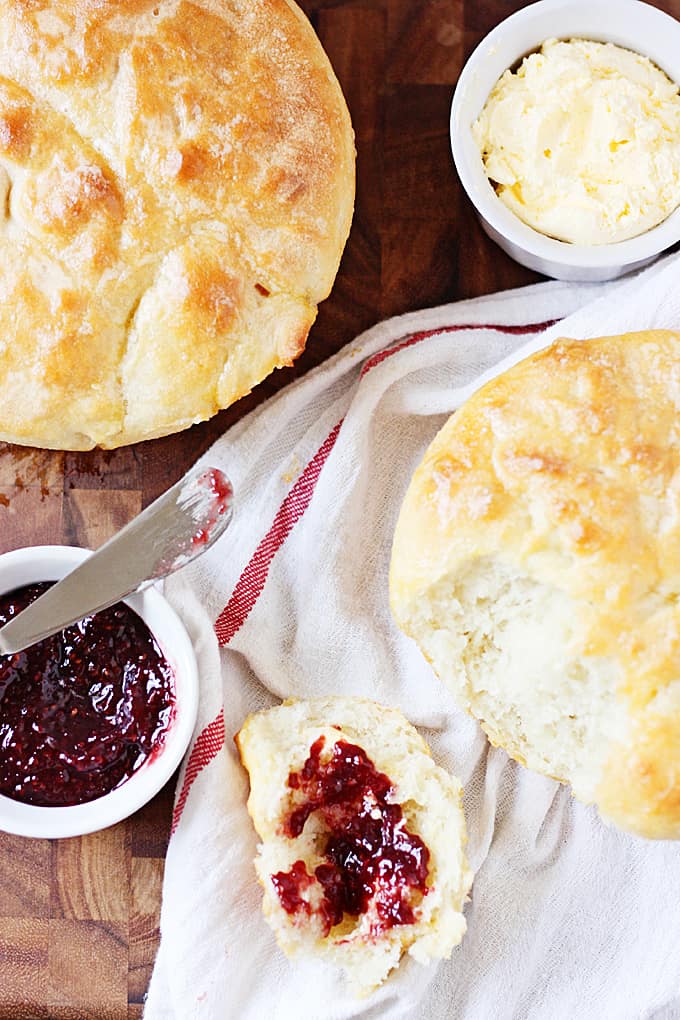
Madison found this recipe via Pinterest (no surprise there!). You can find the original recipe with variations on Alexandra Cooks.
She also shares which bowls are best to use and gives suggestions if incorporating different flours and yeast. The go-to bowl is the Pyrex Prepware 1.5-quart mixing bowl because it's the perfect size for splitting the dough in half, and smaller loaves seem to bake better.
You can actually get a 2-pack of these bowls for $16.89 versus $9.10 for a single bowl. Stock up because you'll be baking this peasant bread weekly!
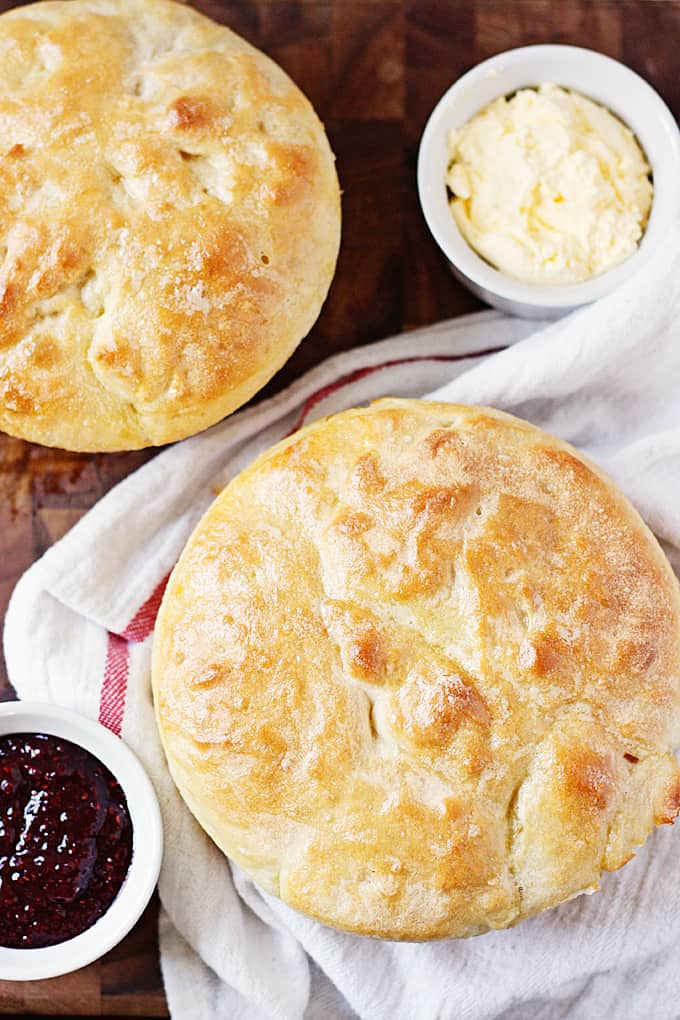
I did find the amount of information in the original post a bit overwhelming for a printable recipe so I've simplified it below. But hers is worth a read before baking your first of very many batches.
Peasant Bread
We like this peasant bread so much—and it's so easy to make—I finally had to demand my daughter bake it only on Sundays. We can easily down two loaves!
Ingredients
- 4 cups all-purpose flour
- 2 teaspoons kosher salt
- 2 cups lukewarm water
- 1 tablespoon sugar
- 2 teaspoons active-dry yeast
- 2 tablespoons salted butter, softened
Instructions
- Dissolve sugar in the water in a small bowl. Add yeast and let stand for 10 to 15 minutes or until mixture is foamy.
- Whisk flour and salt together in a large bowl while yeast proofs. Gently stir the yeast mixture and add it to the flour; mix until flour is absorbed. Cover bowl with towel and set aside to rise for at least an hour.
- Preheat oven to 425 degrees. Grease two oven-safe bowls with a tablespoon of butter each.
- Using two forks, punch down dough, scraping it from the sides of the bowl. Try to turn the dough onto itself as you scrape. Make sure the dough is completely removed from the sides of the bowl.
- Take your two forks and divide the dough into two equal portions by pulling the dough apart with the forks. Scoop up each half and place into prepared bowls.
- Let dough rise for about 20 to 30 minutes on the counter near the oven until it has risen to just below or above (depending on what size bowl you are using) the top of the bowls.
- Bake for 15 minutes. Reduce heat to 375 degrees and bake for 15 to 17 minutes longer. Remove from the oven and turn the loaves onto cooling racks. Let cool for 10 minutes before cutting.
- Note: If the loaves look a little pale and soft, return them to the oven without the bowls and bake for another 5 minutes.
Notes
FOLLOW HALF-SCRATCHED ON INSTAGRAM (@half_scratched) and share the recipes you're whipping up in the kitchen. Don't forget the #HALFSCRATCHED hashtag so we can see what you've made!
Nutrition Information:
Yield: 6 Serving Size: 1Amount Per Serving:Calories: 65Total Fat: 4gSaturated Fat: 2gTrans Fat: 0gUnsaturated Fat: 1gCholesterol: 10mgSodium: 402mgCarbohydrates: 7gFiber: 0gSugar: 2gProtein: 1g



Anne Marie
This bread looks amazing! I'm printing out for my next carb-attack. That picture is so incredible, I found myself reaching up to my computer screen to break off a piece... sadly it didn't work.
Emily Hill
Be careful. You'll make it and then you'll want to eat it multiple times a week. ;)
Cathy@LemonTreeDwelling
This looks amazingly good! Love the fact that your daughter makes it!!
Emily Hill
So do I! :)
Kelsey
This looks so delicious and easy! I usually just stay boring and always make my go-to no knead recipe....but though so easy, takes 24 hours to proof...this looks just as easy and done in a pinch! Can't wait to try!
xx
Emily Hill
Let me know what you think!
Chloe Laczko-Heald
How much sugar do we use? (whats T?) Please try to reply back asap i am going to use this recipe for a school project!
Emily Hill
Sorry! T stands for tablespoon. Hope that helps!
Mary Lou Kantz
Hi - I appear to be the only person that tried this recipe and my dough mixed up VERY dry and came out just a LITTLE bit less dry after the first rise . I for sure used only 4 cups of flour and 2 cups of water. What could I have done wrong? thanks for any help. Mary Lou
Emily Hill
I'm so sorry to hear that! We've made this recipe countless times and never had it too dry. Perhaps cut back on the flour next time trying 3 1/2 or 3 3/4 cups.
Mary Lou Kantz
thanks so much for your answer - I must say, even as dry as it was it did cook up well - next time I'll try a little more extra water. Maybe being in dry Arizona could be an issue. Thanks , Mary Lou
sierra turner
Did you brush the tops with anything?
Emily Hill
Yes! We like to brush the top with butter when the bread is still hot. :)
Amy Kennard
Is it okay to make the dough in the morning and then bake it closer to dinner time? I'd love for it to warm out of the oven for dinner but don't have enough time before dinner to make it. Thanks!
Holly
I made it this week, and both loaves are almost gone!! Getting ready to make some more RIGHT NOW. This bread has such a yummy taste and texture!! It also makes GREAT toast!! Thanks for sharing such a delicious and easy recipe!!
Emily Hill
We haven't tried it as toast yet. Guess we need to make another batch!
Leanna
Can you make this bread in nonstick bread pans? I'd like to make rectangular bread as opposed to the round shape that you'd get in a pyrex bowl, just wondering if would work the same in regular loaf pans!
Emily Hill
We've tried it in bread pans (glass) and it turned out just as good so I'm sure you could!
denise
This is some awesome bread. I made it many,many times last year-and I just pulled out the recipe and am making it again right now. I've also added some Rosemary or Thyme,garlic etc,and its just as wonderful. Happy eating!!
Emily Hill
We made it a couple Sundays ago and it was so yummy. I love the idea of added rosemary, thyme and other spices!
Casey
My daughter and I make this bread today - smells great, easy as it reads and tastes delicious fresh from the oven. I will make this again!
Thank you.
Emily Hill
So glad you liked it! We love it right from the oven and devour an entire loaf!
️Kat
I have made this recipe a few times and I cannot get it to rise more than about 3-4 inches. Is this the way it should turn out?
Emily Hill
It usually doubles in size on the first rise, so if that's 3 to 4 inches, then you're good! Sometimes if it's cooler weather, I'll put my oven on its lowest setting and set the bread on the stove top. Hope this helps!
Ellie J
Okay, so here in Maine we're stuck in a blizzard. What better time? This will be my first ever attempt to make bread. Mostly I just want to smell anything warm. Here goes.
Emily Hill
Keeping my fingers crossed! Let me know how it turns out!
Ellie J
As it happens, I was just stuffing my face with yet more of it. This time as breakfast toast. HUGE success!!! I can't wait to show it off to my husband. My love for this bread is probably bordering on unhealthy obsession.
Emily Hill
This makes me so happy! YAY!
Keith Crossley
Please ignore the recent comment posted under my name. That idiot was in a hurry and used 3 T salt instead of 3 t. We disown that guy.
Emily Hill
Oh my! That would be super salty!
Emily Hill
You're welcome!