Shrimp has always been a family favorite, beloved by both parents and kids, especially during the warmer months of spring and summer. Yet, for years, I was cooking down entire bags of shrimp into almost nothing, failing to realize that I was doing something wrong. Then, I discovered the miracle of oven-baked shrimp—tender, juicy, and always plump. The trick? Baking it hot and fast.
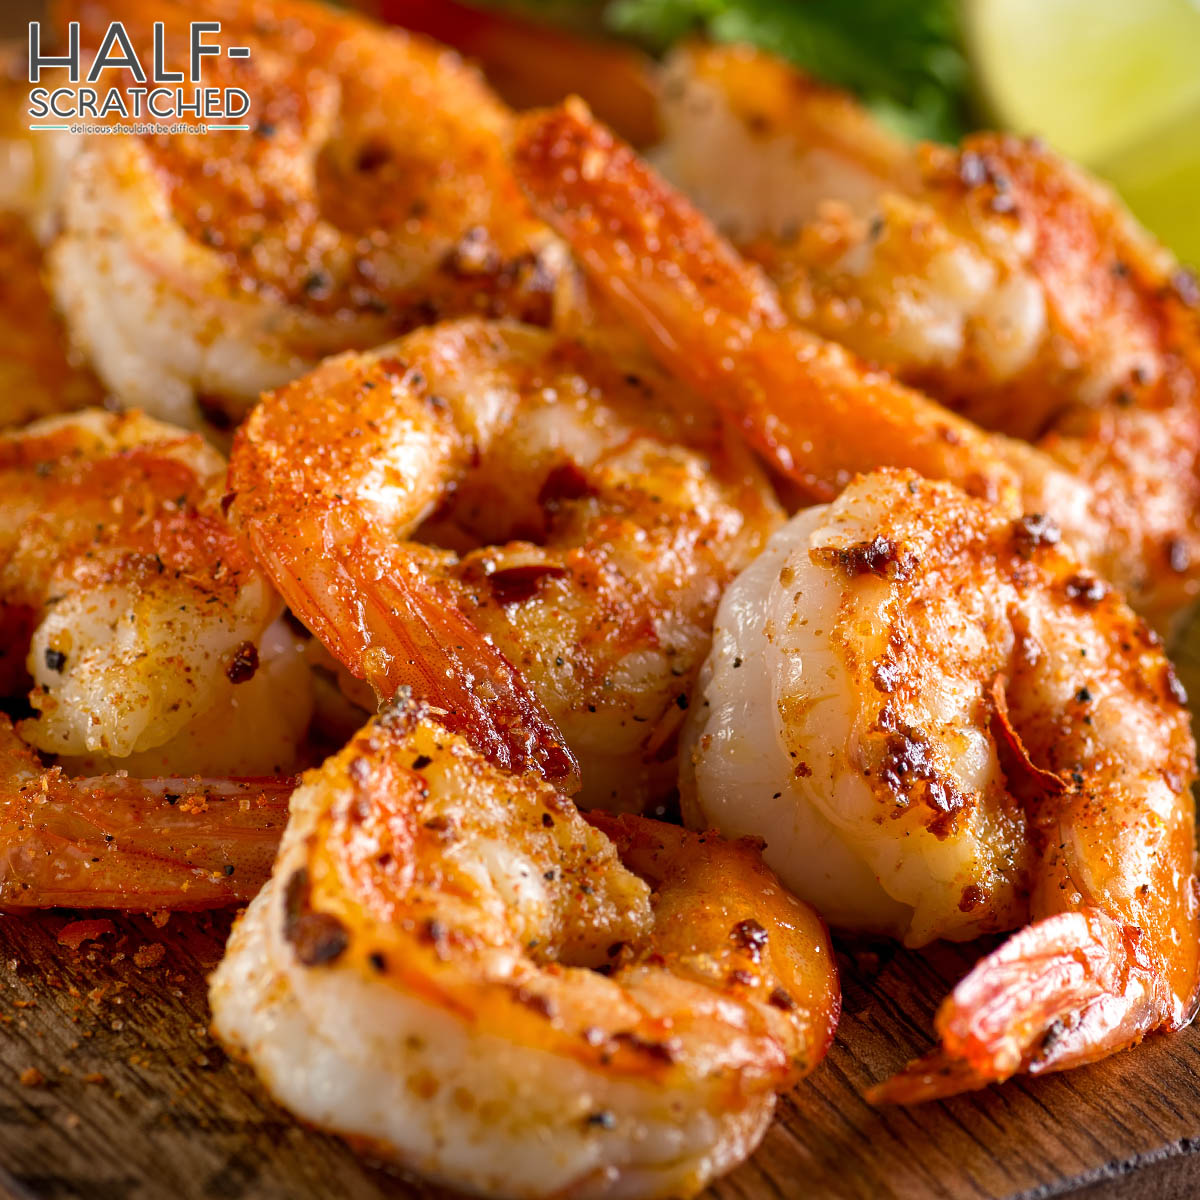
Shrimp cooks quite quickly, especially when exposed to high temperatures, so if you’re baking it at 400° Fahrenheit, don’t let go any longer than 10 minutes. As soon as the shrimp visibly turn pink, remove it from the oven and start serving. For this reason, I recommend cooking it last if you’re making other side dishes. Otherwise, your shrimp will go cold in the meantime.
Baking shrimp might not be your first intuition, but I promise it’s some of the best shrimp I’ve ever had. In this guide, I’ll explain why it works so well, go through a few considerations that can affect how you prepare it, and then share my insider secrets for making a delicious home-baked shrimp dinner.
Stop Pan-Frying Your Shrimp
For whatever reason, there seems to be a general consensus that shrimp can only be cooked one of two ways—either grilled or pan-fried. While I won’t deny that grilled shrimp is delicious, it’s not always the most convenient way to prepare a meal on the fly. But whatever you do, stop pan-frying your shrimp!
We’ve all seen it happen before—you heat the pan, add the oil, and then toss in the shrimp only to watch them shrivel up into little rounds of chewy, rubberlike shellfish. What started as a pound of beautiful, freshly caught shrimp suddenly turned into nothing. The problem is that you overcooked the meat by directly exposing it to an incredibly high temperature.
This wouldn’t be such a problem if the heat was surrounding the shrimp, but by cooking them in a pan, you’re putting the meat flat against the metal. Within a minute, most of the moisture will evaporate away, causing the proteins to tighten into bands of overcooked elastic. Fortunately, though, baking is a solution to the problem.
Although you’ll heat your oven to a toasty 400° Fahrenheit, the heat will circulate around the shrimp rather than transfer directly into the meat from a pan. This allows for a more even, slower, and controllable cooking process. The outside will gently sear while the inside remains juicy and tender without curling into a tiny ball and your dinner will be ready within 8 to 10 minutes.
Baking Fresh vs. Frozen Shrimp
If you’re baking shrimp as a main course, I recommend buying raw shrimp from your local grocery store or fishmonger. You’ll get a far better result than if you were to use frozen shrimp. This isn’t to say that frozen shrimp are low-quality, though. Most raw shrimp have previously been frozen before they were transported to your store. The difference comes down to water content.
When individually quick frozen (IQF) shrimp are processed and packaged, they’re quickly chilled to create tiny crystals of ice throughout the meat. This helps to retain quality but it also means that the shrimp hold onto more water. When you go to bake frozen shrimp, that water will turn into steam, causing the meat to turn rubbery rather than tender.
If you have no other choice than to use IQF shrimp, let it defrost completely, salt it, and then dry the shrimp using a paper towel to remove as much of the excess water as possible.
Bake the Shrimp in Their Shells
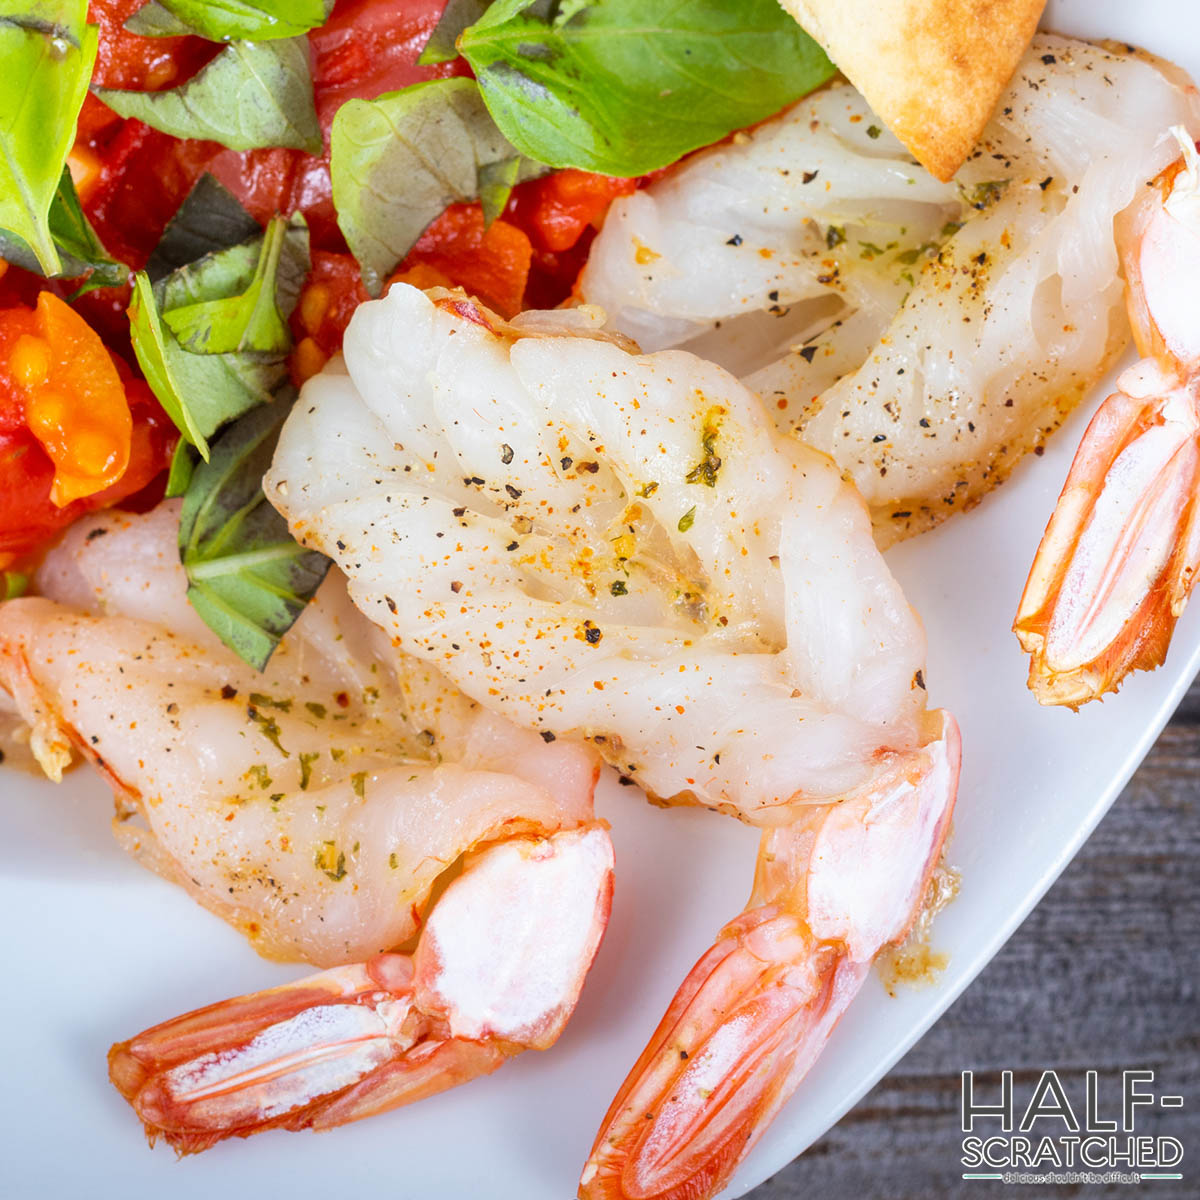
Shrimp shells are a controversial topic, especially among American diners who prefer not to fiddle with their food. I’m here to tell you, though, that baking shrimp in their shells will always make a difference. Not only will the shells help to hold the meat’s shape and size, but they’ll also add more flavor to your meal. That’s not to say that you shouldn’t clean the shrimp, though.
Rather than removing the shells entirely, use a paring knife to split the shrimp down the middle, clean out the brownish-yellow vein of poop, and then allow the two sides of the shell to hang attached to the tail. As the shrimp bake, the meat will fold outward, creating that beautifully butterflied shape.
Allow Breaded Shrimp to Bake Longer
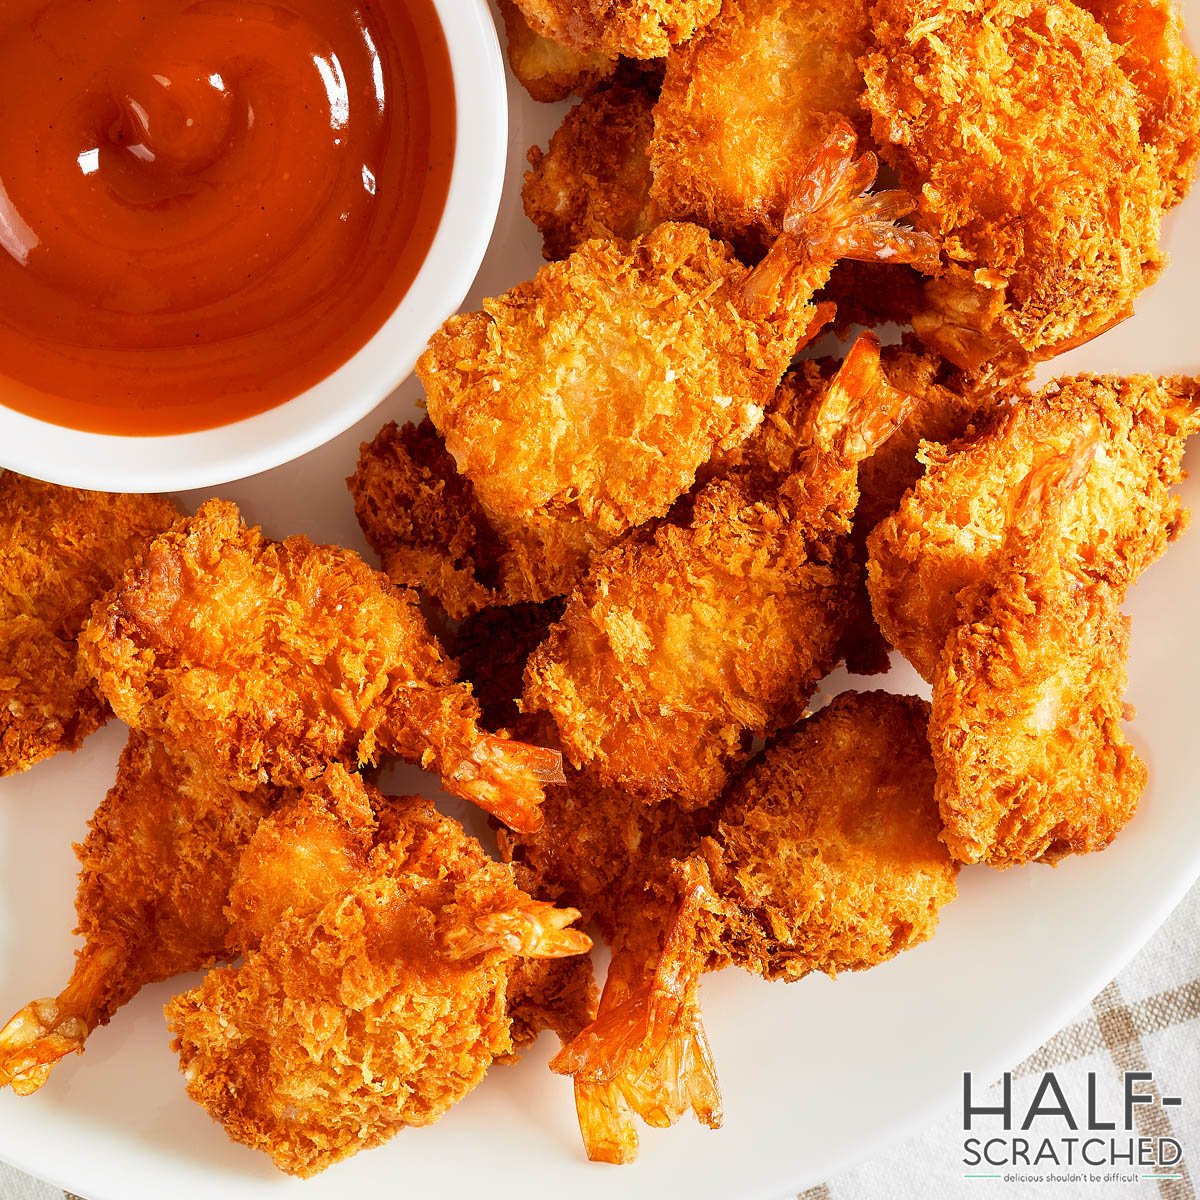
As much as my kids love shrimp, they’re a little pickier about how they want it prepared. My youngest, for example, will only eat it if it’s removed from the shell and breaded. I have no problem with it since it only takes a few extra minutes to prepare, but it does mean I have to adjust the baking time to account for the added ingredients.
With breaded shrimp, I know that the outer coating prevents some of the heat from transferring into the meat, so I allow them to bake for about five minutes more than the others. This also gives the breading enough time to crispen into a wonderful snap. The shrimp on the inside remains nice and tender while the breading convinces my son that he’s eating something fried, even if it isn’t.
Have Dinner on the Table in Minutes Using Your Air Fryer
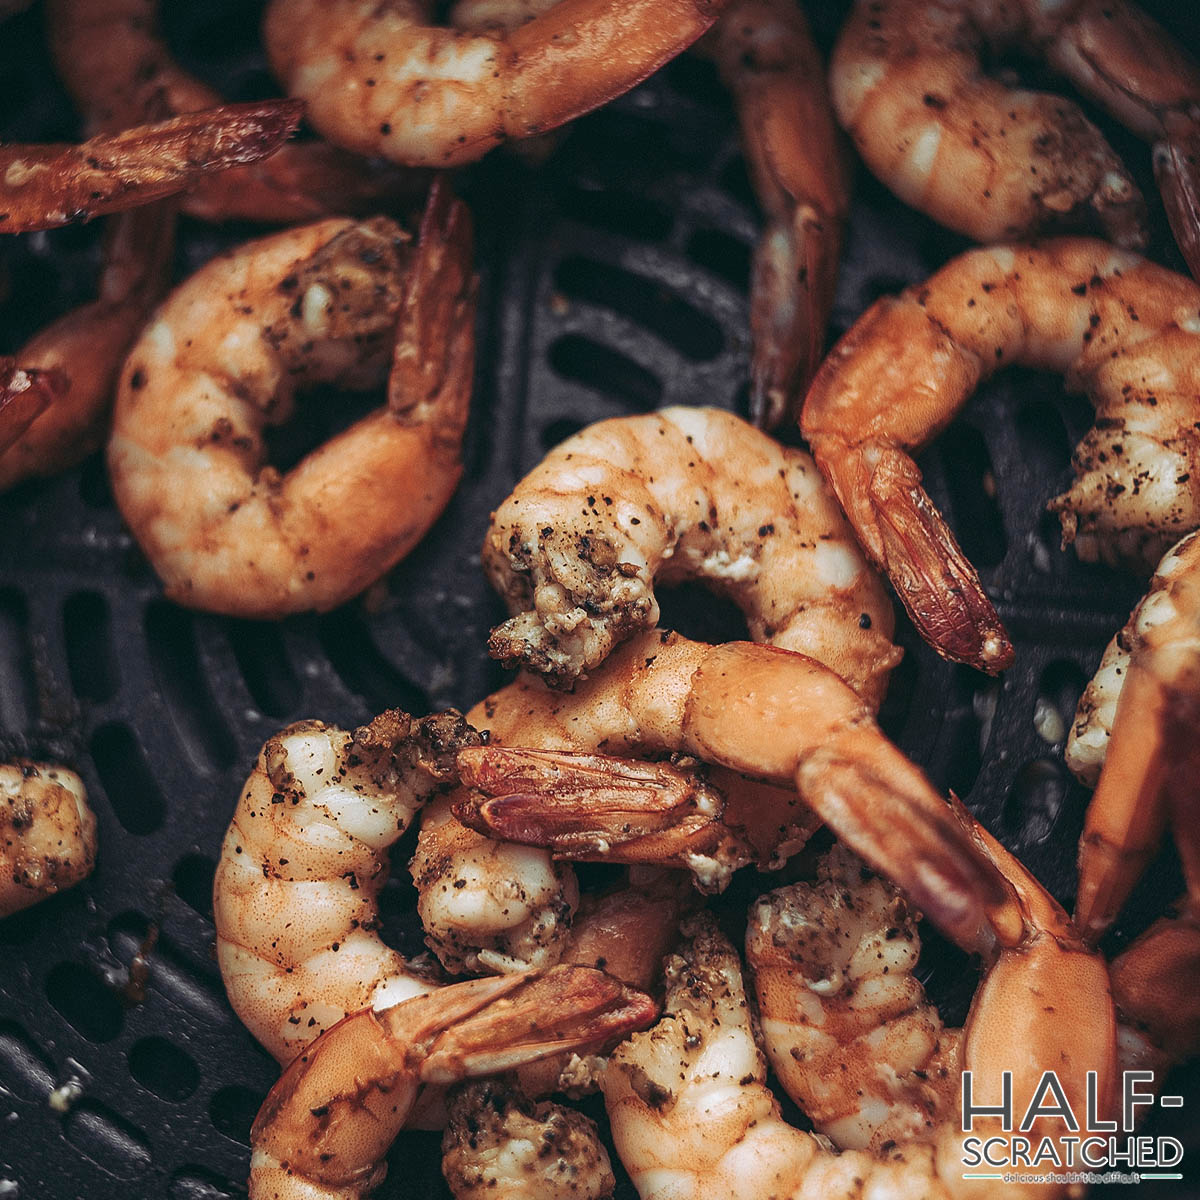
If you thought that an 8-minute meal was fast, wait until you bake shrimp in an air fryer. Unlike your traditional convection oven, an air fryer can heat foods within minutes, cutting the baking time for shrimp down from 8 to 10 minutes to just 4 to 5 minutes. You’ll have to be a little more vigilant, though, because even a single minute more can cause the shrimp to overcook.
I recommend setting a timer to go off 1 minute before you should remove the shrimp and another to go off exactly at the 4-minute mark. This way, you’ll already be in a position to turn it off, remove the shrimp, and start serving up.
Lesser-Known Tricks for Making Unforgettable Baked Shrimp
Shrimp has a pretty distinct flavor and it doesn’t need much to make it better, but I can recommend a handful of tricks to amplify its naturally sweet ocean tinge. Don’t feel obliged to follow these tips but they can help you to improve an otherwise simple meal.
Brine the Shrimp
Shrimp naturally live in a saltwater environment so it shouldn’t be too much of a surprise that soaking them in a brine bath for an hour or two before baking can improve their texture and juiciness. The real surprise is that you should add a little bit of baking soda to the brining solution as well. That added dash of alkalinity will help to keep the shrimp crisp and firm without going rubbery.
Save the Shrimp Shells
Even after baking the shrimp, you can still use their shells. Much of the natural shrimpy flavor comes from the head and shells of the animal and you can use them to make a delicious sauce to go with the meat.
Start by boiling half of the discarded shells in 1 cup of water. Then, sauté the other half in a pan with some garlic and butter. Remove the shells from both the water and pan, mix the flour into the butter to make a roux, and then add the shrimp shell broth to create a complete sauce. Flavor with your preferred spices and then pour over the shrimp.
Season the Shrimp Before Baking
Don’t underestimate how quickly the shrimp will cook. If you want to impart new flavors into your meal, you’ll have to season the shrimp, let it sit and marinate for a few minutes, and then cook the shrimp. If you try to add seasonings after it’s already cooked, they meld together with the meat and you’ll only taste the dried and uncooked spices or herbs.
Coat the Shrimp in a Flavored Oil
If you want to marry the natural flavor of shrimp with something that isn’t going to completely overpower its sea-breeze sweetness, I recommend tossing the shrimp in a flavored butter or oil. Preparing some garlic butter or chili oil ahead of time and then using it as a flavoring in favor of raw spices can amplify the shrimp without masking it.
Finish the Shrimp with a Spritz of Fresh Lemon Juice
This is hardly a secret but shrimp plus fresh lemon juice equals a deliciously balanced and bright meal. There’s something about the mild acidity of citrus fruits that play well together with the salty brininess of seafood.
A Quick and Easy Breaded Butterfly Shrimp Recipe for the Kids
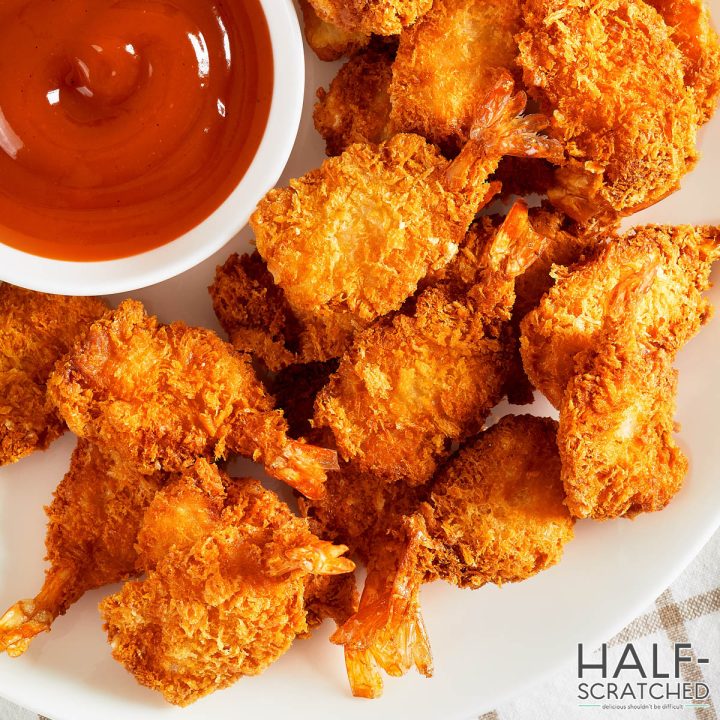
How Long to Bake Shrimp at 400° F
Never overcook your shrimp again once you discover how long to bake them at 400° Fahrenheit.
Ingredients
- 1 lb of raw, unfrozen jumbo shrimp, cleaned, butterflied, and deshelled but with their tails still attached
- 1 cup of all-purpose flour
- 1 ½ cups of Panko breadcrumbs
- 3 large eggs
- 1 teaspoon of sea salt
- 1 teaspoon of black pepper
- 1 teaspoon of Old Bay or Cajun seasoning
Instructions
- Preheat your oven to 400° Fahrenheit.
- If you have not already cleaned and butterflied your shrimp, use a pairing knife to cut a shallow slit along the back of the shrimp. Rinse the shrimp under cold water while pulling the blackish-brown vein out of place.
- Mix the flour in spices in one bowl, then pour the breadcrumbs and eggs into two separate bowls. Beat the eggs until they are smooth.
- Going one at a time, roll the shrimp in flour, dredge them in egg, and then coat them with Panko breadcrumbs. Repeat until all of the shrimp are breaded.
- Spray a baking tray with non-stick spray and then arrange the breaded shrimp so that they don’t overlap.
- Bake the shrimp for 10 minutes, keeping an eye on them to avoid burning.
- Remove the shrimp from the oven and serve immediately.
Nutrition Information:
Yield: 2 Serving Size: 1Amount Per Serving:Calories: 934Total Fat: 16gSaturated Fat: 5gTrans Fat: 0gUnsaturated Fat: 9gCholesterol: 758mgSodium: 5847mgCarbohydrates: 112gFiber: 6gSugar: 6gProtein: 79g


Leave a Reply