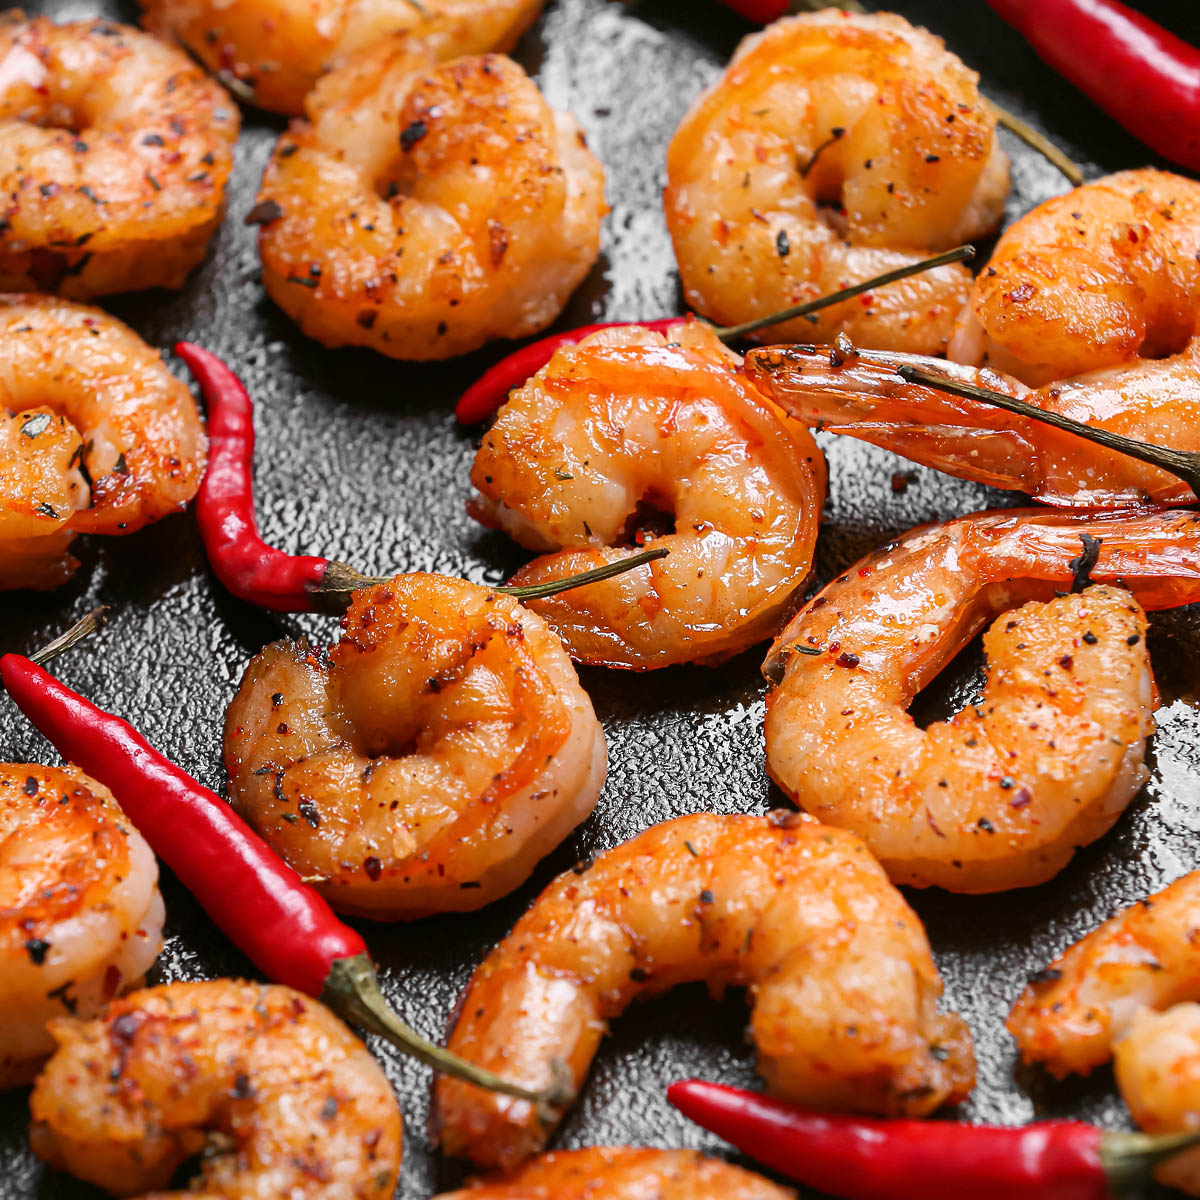
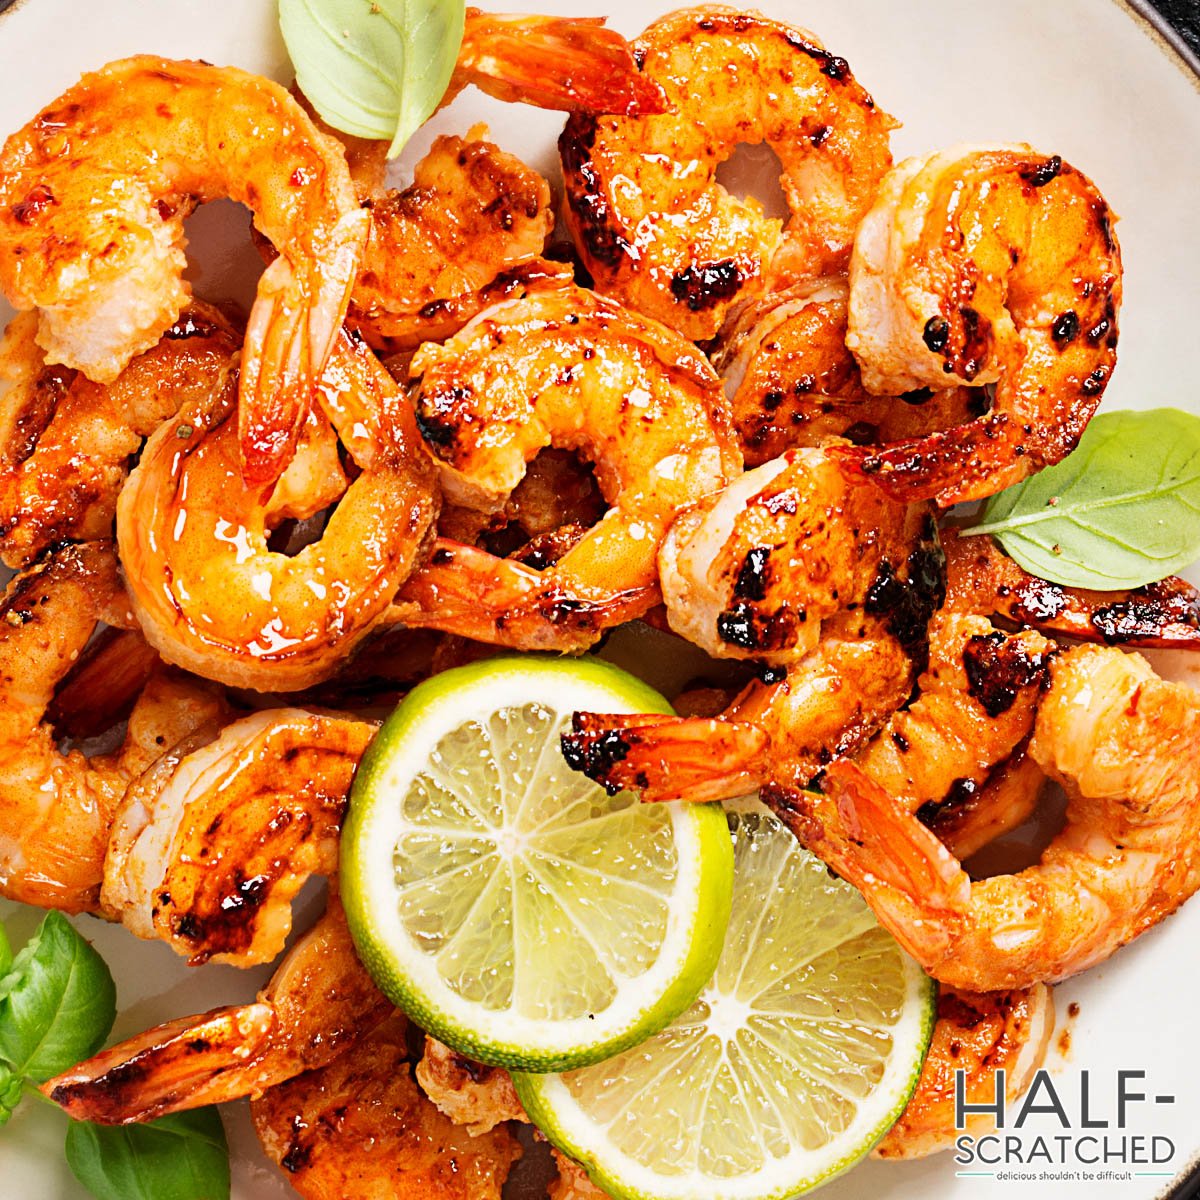
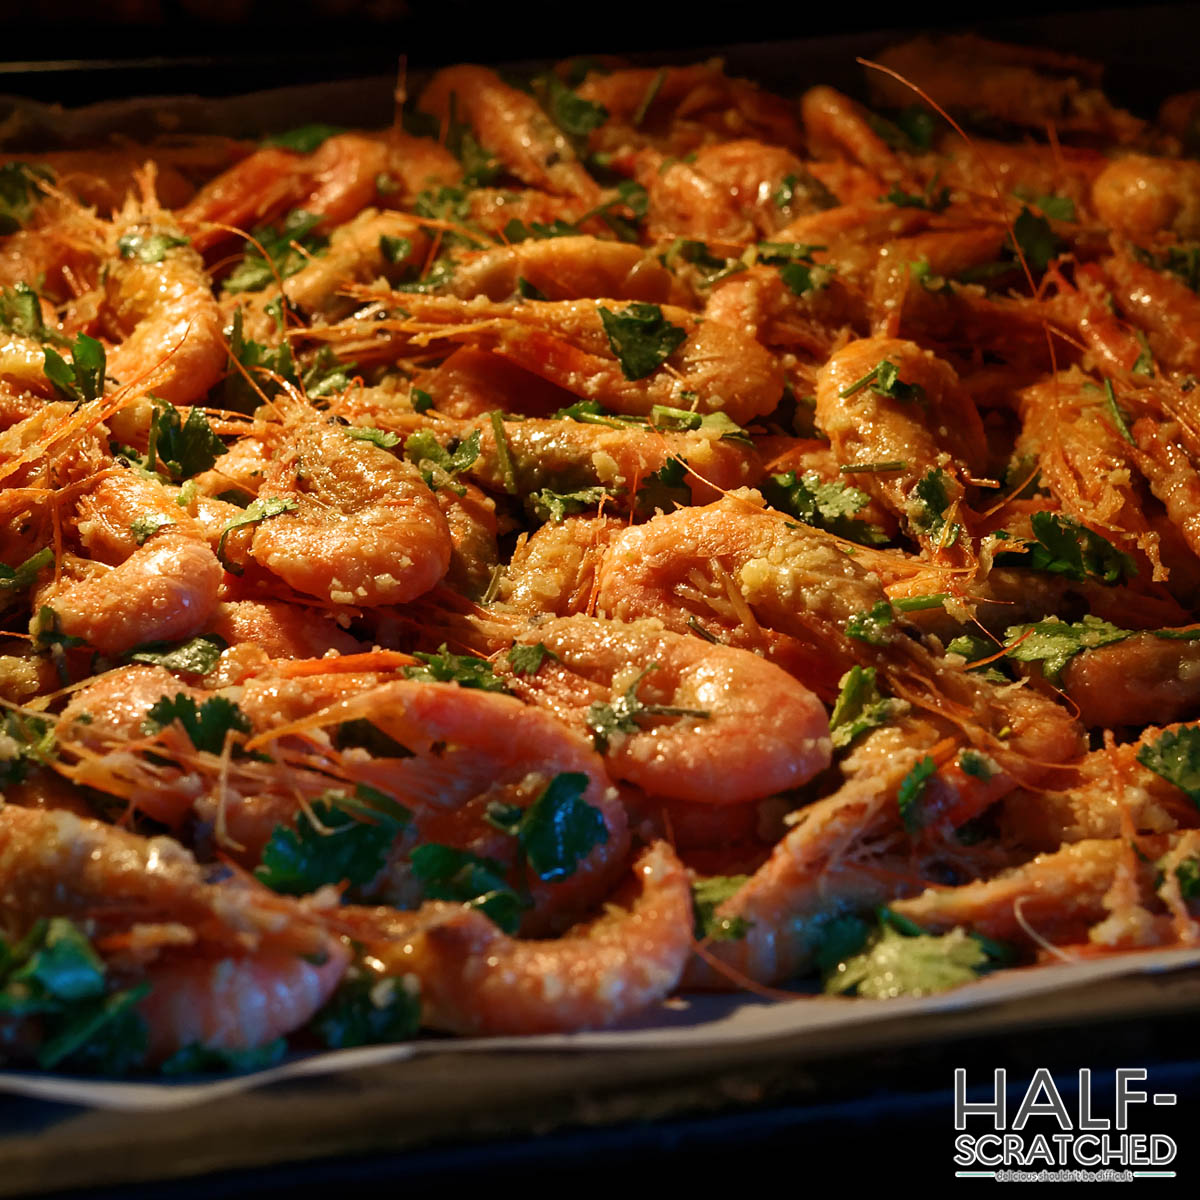
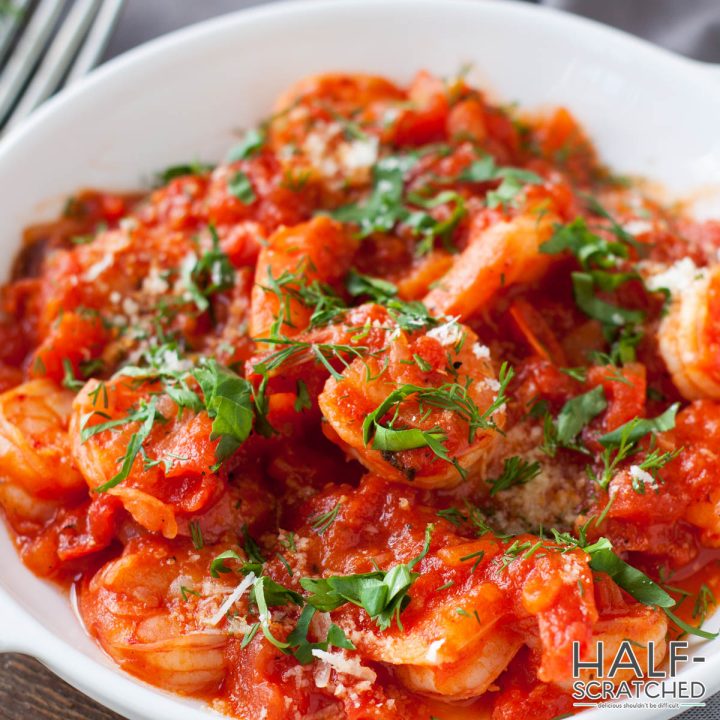
Shrimp, especially when baked, is a delicious meal option.
Shrimp should be baked at 375 degrees Fahrenheit for about 10 minutes or until the shrimp goes from translucent to opaque. Be careful to keep an eye on it or it’ll be overcooked.

This guide will walk you through tricks for baking perfect shrimp, how to prepare the shrimp, and some dishes that baked shrimp can go in. Read on!
Choosing Shrimp to Bake
There are around 300 species of shrimp in the world, but only a few are great for baking. How do you know which ones to pick? There are three main shrimp species that are most commonly eaten by humans:
Pink Shrimp
Pink shrimp are probably the most commonly eaten in the United States, likely because people find them to be the tastiest. They have a mild, sweet flavor. Despite their name, pink shrimp can be gray or white in color. Their most distinctive feature is the darker coloring on their tail.
White Shrimp
Similar to pink shrimp, white shrimp also has a sweet flavor and their flesh tends to be very tender. They’re native to the Atlantic and Gulf Coasts, Latin America, and certain parts of Asia. You can recognize them for their greenish-colored tails.
Brown Shrimp
Brown shrimp are found in the Gulf of Mexico and the Atlantic Coast. They have a mild shrimp flavor and a firmer texture. People tend to favor the sweeter pink or white shrimp, but brown shrimp are popular in stuffings and thick stews.
Is there a “right” way to buy shrimp when it comes to baking? It makes sense that customers would want to get the most bang for their buck so here’s some advice: get to know shrimp sizes. You’ll want a smaller size because it means that there’s more shrimp per pound.
Sure, jumbo shrimp might sound great, but it actually means that they’ll be less shrimp per pound.
Is Fresher Better?
Fresh shrimp is one of the best things ever, but unfortunately, they don’t last long and spoil quickly. If you know that you’ll be able to cook your shrimp right away, then go for it! Otherwise, you’re better off buying frozen shrimp.
If buying fresh, look for black spots on the head and body. These are caused by oxidation and it’s a similar process to what turns avocados brown. If the shrimp smell like ammonia, that’s definitely a sign of bad shrimp.
How to Prepare Shrimp
Now that you’ve purchased your shrimp, it’s time to prepare it for baking. For frozen shrimp, the most important thing is to defrost it properly; for both frozen and fresh shrimp, you’ll also need to deshell it and take out the vein.

Defrosting
Frozen shrimp are easily defrosted by placing them in a bowl and running them under cold water. Do this for a few minutes and they’ll be good to go. Another way you can defrost them is to place them in a bowl of cold water and let them sit. This can take up to 30 minutes so if you have the time, then this is another good option.
Beheading, Deshelling, and Taking Out the Vein
There are three important steps that are typically done before cooking shrimp and eating it.
Behead the Shrimp
While it’s not necessary to behead the shrimp, it can make eating it more enjoyable. Fried shrimp heads are enjoyed the world over but it’s not for everyone. The heads contain a bitter juice when they’re cooked, which can elevate sauces and soups but not necessarily a person’s taste buds.
Shrimp heads also contain an enzyme that is released when the shrimp dies. It starts to break down the flesh, which can result in mushy meat when it’s baked. The easiest way to remove the head is to hold the tail end so it points toward your palm. Pinch the head and then twist it to the side until it pops off.
Deshelling
You don’t have to deshell your shrimp, but the general consensus is that people tend to take off the shell, tail, and legs. Some folks like to eat all of that and there actually are benefits: extra protein and calcium as well as a little extra crunch. There are also two kinds of shrimp that are popular to buy:
- EZ-peel shrimp: these shrimp are already split and deveined. The shell is still on but it peels off easily.
- Pre-peeled shrimp: when shrimp are pre-peeled, this means that someone else has already taken the shell off. It’s convenient but it also means that the shrimp are more likely to be exposed and sitting out without the protective shell.
It’s easiest to take the legs off first. After that, place your thumbs on the underside of the shrimp and pull in opposite directions. This will crack the shell down the middle and make it much easier to peel off (almost like an egg shell.
Generally, you’re better off deshelling the shrimp yourself. That way you can keep the shells to add flavoring to soups (or dump them if you don’t want to keep them), and ensure that the shrimp doesn’t sit around for a long time exposed to the elements.
Deveining
The “vein” in a shrimp is actually its digestive track and is dark-colored because of, wait for it, poop. While eating the shrimp’s vein isn’t necessarily harmful, it often has an unpleasant sandy texture and bitter taste.
To devein shrimp, use a paring knife and cut through the shell along the shrimp’s back. Go from the head to the tail and then pick out the vein.
Top Tips for Baking Shrimp
Follow these general tips and your baked shrimp is bound to turn out perfectly. It may seem intimidating but ultimately, anyone can whip up delicious shrimp for all occasions!
Color changes when done
One thing that often happens with baked shrimp is that it gets overcooked. Overcooked shrimp is tough and rubbery, so you want to avoid that at all costs. A surefire way to tell when shrimp is done is color change.
Finished shrimp will turn opaque at the thickest end (the opposite of the tail), so keep an eye on that when baking. Remember that shrimp will continue to bake even after you’ve turned the oven off because the pan they’re in will still be hot.
Bake in one layer
When putting the shrimp into the baking pan, don’t overlap them. Instead, all the shrimp should be laid out in one layer, so ensure that they all cook thoroughly. This also allows the seasonings and toppings to cover all of them.
Try leaving the shrimp in brine
This is not a necessary step, but leaving the shrimp in brine can help with baking. Create a brine that’s one teaspoon of salt and ¼ teaspoon of baking soda for every pound of shrimp. This works because the salt keeps the shrimp moist while baking, while the alkalinity of baking soda keeps the texture firm.
Best Seasonings for Shrimp
There are a variety of seasonings to use with shrimp.

- Cajun seasoning: shrimp is very common in Southern Cajun cooking so it makes sense that adding the seasoning will bring out the best in shrimp. Anything with a little extra spice (such as cayenne pepper or chili powder) will also be amazing.
- Garden herbs: anything that can be grown in the garden, such as cilantro, chives, dill, or mint, will add a little extra to baked shrimp.
- Fats: using olive oil or butter to pour over shrimp as it’s baking will really bring out the flavor and add a smoothness to the shrimp.
- Salt and pepper: it’s a simple combination but salt and pepper does wonders for baked shrimp.
Dinner Date Baked Shrimp Recipe

How Long to Bake Shrimp at 375 F
Shrimp is not only delicious but is easy to make thanks to these tips and tricks for baking perfect shrimp at 375 F in the oven.
Ingredients
- 2 pounds of shrimp
- peeled and deveined
- ½ cup olive oil or butter
- 3 tablespoons chopped garlic
- 4 tablespoons lemon juice
- 1 tablespoon red pepper flakes
- ¼ cup chopped tomatoes
- ¼ cup white wine
- 3 tablespoons chopped parsley
- 2 teaspoons salt
Instructions
- Preheat the oven to 375 degrees Fahrenheit.
- Saute garlic, tomatoes, and parsley for a few minutes. Set aside.
- Mix all the other ingredients together so it creates a sauce of sorts. Throw the shrimp into this mixture and toss.
- Dump the sauteed garlic, tomatoes, and parsley on top. Mix again.
- Put onto a baking pan and bake for 10 minutes.
Nutrition Information:
Yield: 4 Serving Size: 1Amount Per Serving:Calories: 565Total Fat: 34gSaturated Fat: 7gTrans Fat: 0gUnsaturated Fat: 26gCholesterol: 486mgSodium: 3237mgCarbohydrates: 8gFiber: 1gSugar: 1gProtein: 53g


Leave a Reply