When long summer days fade into cool autumn evenings, my family knows just what to expect—oven-roasted gourds and root vegetables. Whatever it is, there’s something so comforting about that first bite of butternut squash that transports me through time, back to my mother’s kitchen. And, over the years, I’ve developed my own recipe to capture that memory. Today, I’ll share it with you.

Depending on how you like it, butternut squash should roast for 35 to 50 minutes at 400° Fahrenheit. If you peel and cut it into cubes, the squash will take less time, but if you prefer it halved and hollowed, it’ll need the full 50 minutes to soften. Of course, these times vary depending on the size of the squash and don’t account for sauces or seasonings.
My mother always kept things simple in the kitchen, especially when it came to winter foods. While you’re welcome to spice things up, I thought it would be nice to share some of my own cooking techniques, explain how I gauge the baking time, and then talk a little about how to turn a staple gourd into a life-long memory. Join me on this journey and make it a part of your family tradition too.
Roasting Butternut Squash Captures Its Natural Flavor
As I think back over the many foods I’ve enjoyed, I can’t recall a time when I had butternut squash served any other way than roasted. Perhaps in a soup or a curry, but if so, those moments don’t stand out. For me, the simplicity of roasting whole chunks of raw vegetables captures the essence of what makes them so delicious.
Butternut squash is both sweet and savory without tasting salty, bitter, or vegetal. It’s soft without being mushy, vibrantly colored, and so specific to that single time of year. But what is it about baking that pulls all of the best features of butternut squash straight to the forefront? Well, it comes down to some simple science.
Baking or roasting butternut squash allows the vegetable to cook slowly while its natural sugars caramelize. This creates a deeper, richer flavor that goes beyond the simple sweet or savory. Yet, to achieve this flavor, you have to use a high enough temperature, i.e., 400°. Any lower and your butternut squash will dry out before it has time to roast.

To Dice or to Slice?
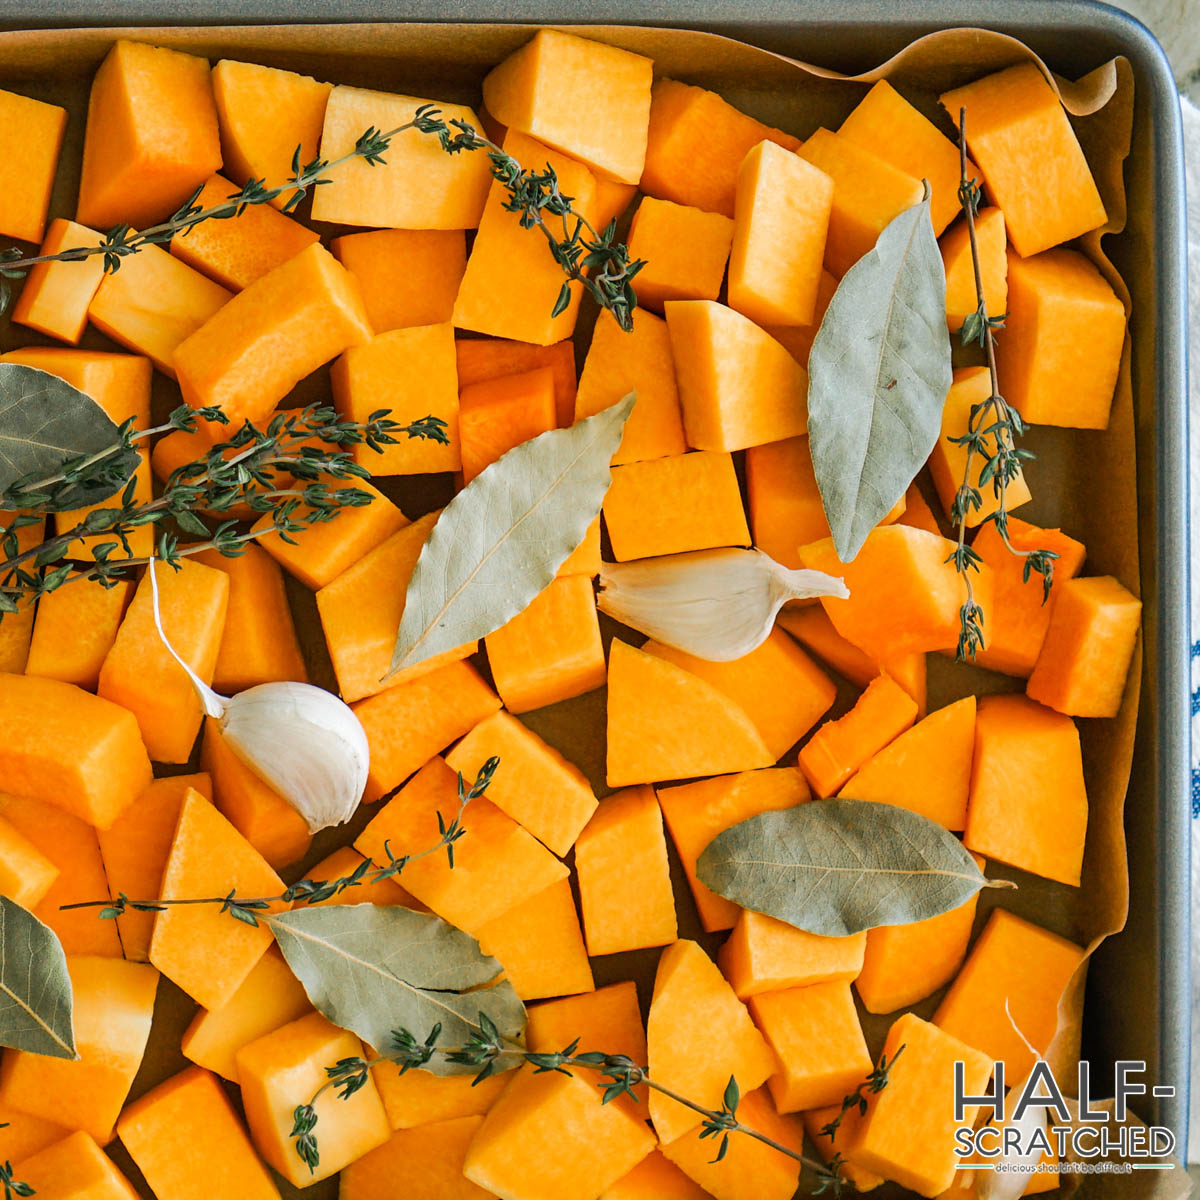
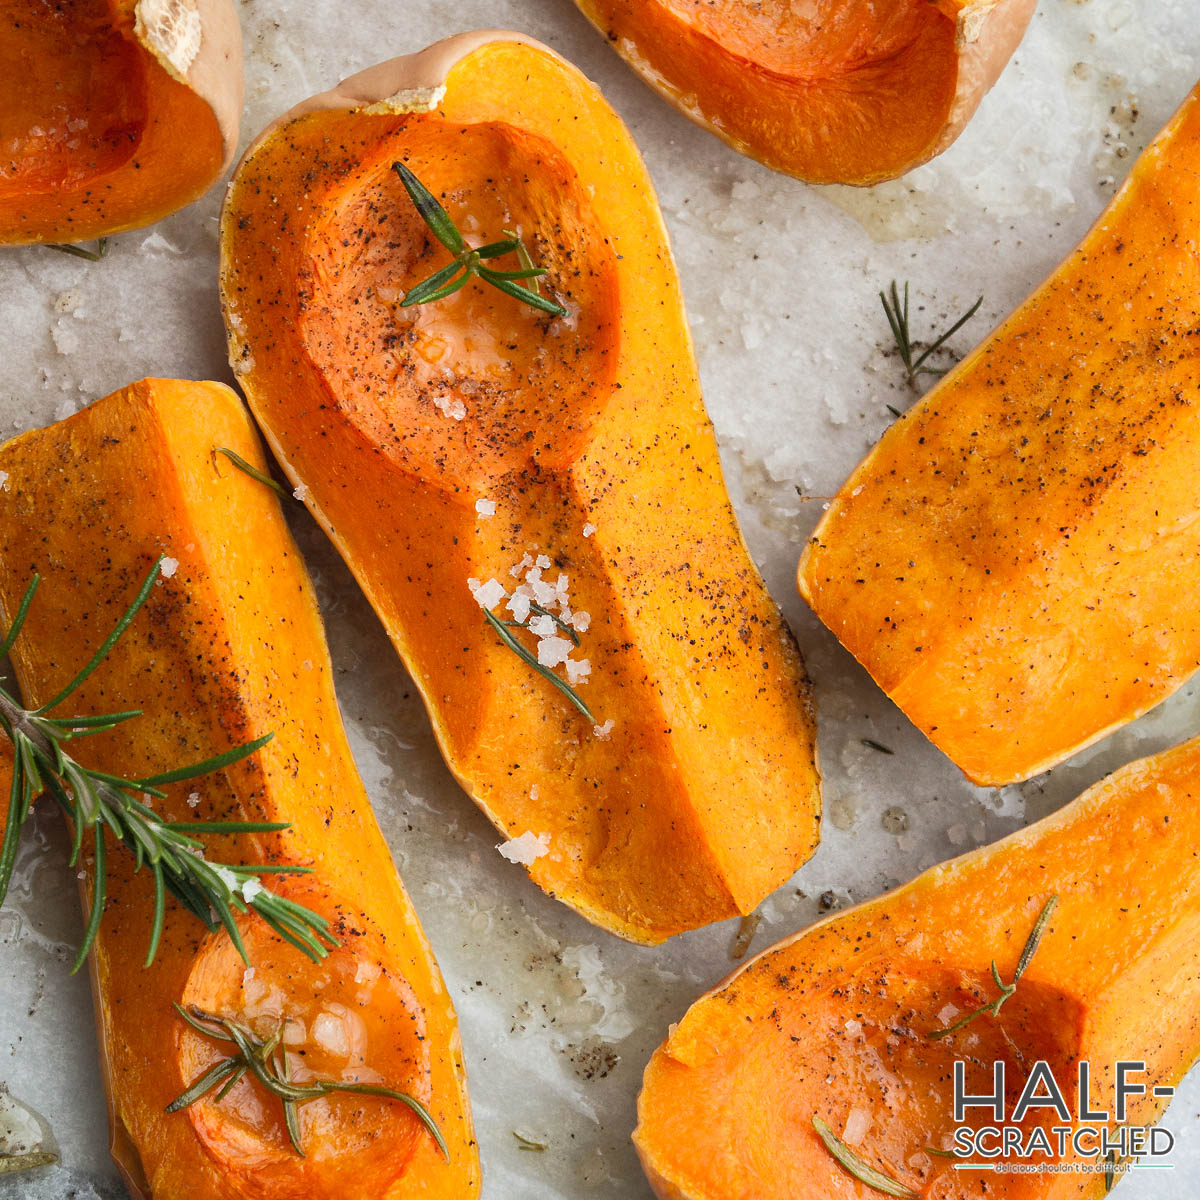
There are two main ways to prepare butternut squash before baking—either by dicing it into cubes or slicing it in half. Both techniques will create a beautifully baked gourd but don’t expect the same thing. Cubed butternut squash should be carefully peeled to remove the bitter outer skin, whereas halved butternut squash is usually left to bake inside of its skin.
The cubes will roast on all sides and can also be seasoned more thoroughly. On the other hand, the halved butternut squash will more than likely be sliced before serving and then eaten with a spoon. While both are delicious, I personally prefer cubing my butternut squash.
It allows me to toss the pieces in a blend of oil and spices, and it also cuts the baking time by roughly 20%. If you follow my lead, let the squash roast for around 35 minutes and then test a few cubes with a fork. They should feel tender but not mushy. If you roast the squash in halves, let it cook for 45 to 50 minutes before removing it from the oven.
Don’t Cover the Squash in Aluminum Foil
Squash and gourds, in general, contain a lot of natural water. If you cover the vegetable in aluminum foil, any moisture that escapes will turn into steam and get trapped under the covering. Rather than roasting and allowing the natural sugars to caramelize, you’ll essentially be steaming the squash, causing it to go mushy in the oven.
If you’re concerned that it may burn while roasting, I recommend checking it every 10 minutes after the 20-minute mark, just to be safe. You should find that it’s slowly darkening into a deep orange-brown, but if you notice any black edges, remove the squash from the oven and test it with a fork. If it’s still not tender, drop your oven to 350° Fahrenheit and then finish it at the lower temp.
Save Time by Using an Air Fryer
As much as I love eating baked butternut squash during the cold weeks of winter, I don’t always have time to wait 40 or so minutes for the veggies to cook. On those busy workdays, I knew to save time by using my trusty air fryer. Since it circulates hot air around such a small area, it quickly bakes the squash in a matter of minutes.
I start by peeling, cubing, and then seasoning the squash before tossing it into the fryer. Then, at 350° Fahrenheit, I leave it to cook for around 15 minutes. It produces almost the exact same result without any added oil and in less than half the time.
Stab the Squash with a Fork
Alternatively, if I still want the depth of flavor that my oven can capture but without waiting ¾ of an hour, I’ll stab each cube with a fork. This creates four little holes that allow heat to easily transfer directly into the center of the squash. Although it’s not quite as fast as using an air fryer, using this one simple trick can shave around 10 minutes off the baking time.
Easy Tricks to Improve Butternut Squash
As I said earlier, I’m of the camp that believes roasted vegetables should be simple and paired back. Nevertheless, you can always use a handful of tricks to improve their flavor. Below, I’ve included five simple additions that can amplify the natural flavor of butternut squash without completely masking it. Use them as you wish and feel free to add your own personal flair.
Simple Spices Work Best
Anytime I make butternut squash, I use three simple spices to bring out the vegetable’s natural flavor without overpowering it—salt, black pepper, and paprika. The salt enhances its natural savory undertones, while pepper and paprika provide enough contrast to highlight its sweeter top notes. Simply put the squash in a bowl, add some oil, and then mix in the spices.
Experiment with Different Oils
Canola, olive, and vegetable oils are perfectly fine for roasting vegetables, but they’re not the most exciting flavor profiles. Since we’re keeping things simple, I recommend trying various nut oils to bring out the natural flavor of butternut squash. Personally, I love the richness of walnut oil, though you could also try avocado, hazelnut, or even sesame oil.
Build on Butternut Squash’s Natural Sweetness
If you prefer the natural sweet tones of butternut squash, you can easily amplify them using a pinch or two of cinnamon, nutmeg, and brown sugar. Adding more sugar to the squash will enhance the natural caramelization and create a lovely crust across the top of the vegetable. However, keep an eye on it as it bakes because the sugar could easily burn.
Turn Roasted Butternut Squash into Soup
When Thanksgiving or Christmas rolls around, I’m always looking for a starter that’s easy enough to prepare alongside the main meal without being overly simple. Butternut squash soup is my personal favorite. Simply roast the squash, put it in a blender, add some curry powder and a bit of chicken stock, and then blitz the contents into a smooth consistency. If it’s too thick, just add more chicken stock.
Deeply Score the Squash Crosswise
Last but not least, you can create a beautiful accordion of squash by cutting the gourd in half from the top, peeling both sides, and then slicing horizontally without cutting straight through the squash. When it bakes in the oven, the slices will pull apart, creating an aesthetically pleasing and delicious meal.
Frequently Asked Questions
Although I’ve been calling it a vegetable throughout this recipe guide, it is, in fact, a fruit. For all intents and purposes, though, we prepare squash like a vegetable and, therefore, most people consider it a vegetable. It does, however, have seeds so it is a fruit according to horticulturists.
If you’ve made too much squash but don’t want to get rid of it, you can safely store the vegetable in the freezer for up to 6 months. When you’re ready to eat it again, I recommend heating it in the oven. Trying to microwave frozen vegetables will cause them to go mushy, whereas the oven will help to absorb some of that excess moisture.
Both vegetables (fruits) belong to the gourd family, have a deep orange color, and taste relatively the same. Butternut squash, though, is a little softer and milder in flavor. Pumpkin tends to be more bitter and requires a little more work to make appetizing. Nevertheless, they make up a large part of my winter diet and I’m sure you’ll love them too.
You should always check the skin before buying a butternut squash. It should be firm enough not to scratch and evenly tan in color. If it’s greenish-white, it’s still too young. On the other hand, though, if your squash seems mushy, it’s likely gone bad and you should throw it away.
My Recipe for Baked Butternut Squash
How Long to Bake Butternut Squash at 400° F
Learn how to bake butternut squash to perfection. Make baked butternut squash a part of your family’s winter tradition.
Ingredients
- 1 large butternut squash
- 1 ½ tablespoons of your preferred oil (I use walnut)
- 1 teaspoon of salt
- ½ teaspoon of freshly cracked pepper
- 1 teaspoon of smoked paprika
Instructions
- Remove the baking sheet from your oven and let it preheat to 400° Fahrenheit.
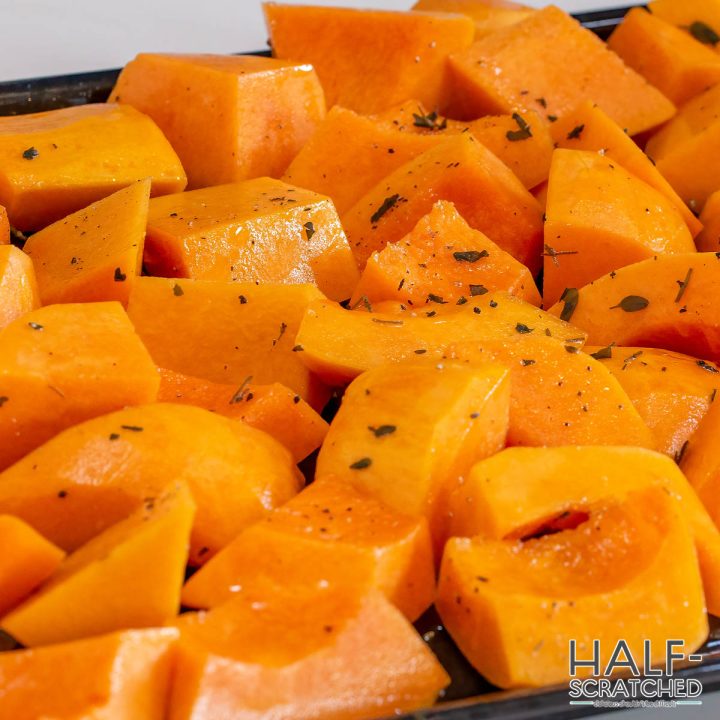
- Peel the outer skin from the butternut squash and then cut it into 1-inch cubes. Be sure to remove and discard the seeds and guts.
- Place the cubes of squash into a large mixing bowl and add the oil and spices. Use your hands to mix the ingredients together until all of the squash is coated in the spice mix.
- Spray your baking sheet with non-stick spray and then spread the squash evenly across the pan.
- Let bake for 35 minutes and then test the cubes with a fork. If they are still not tender, return the baking sheet to the oven for another 5 minutes.
- Remove the squash from the oven and serve it immediately.
Nutrition Information:
Yield: 2 Serving Size: 1Amount Per Serving:Calories: 109Total Fat: 7gSaturated Fat: 1gTrans Fat: 0gUnsaturated Fat: 6gCholesterol: 0mgSodium: 1063mgCarbohydrates: 12gFiber: 4gSugar: 2gProtein: 1g


Leave a Reply